Automatic Brewing
Setting Up A Continuous Integration (CI) Build For An ASP.NET Core Application In Azure DevOps Services
by JamesQMurphy | July 17, 2019
In my last couple of posts, I showed how I manually built my ASP.NET Core site and deployed it to AWS. Manual deployment is a natural choice for the discovery phase of a project, where you might be wrestling with a new techology or platform. Problems (like my issue with .zip permissions) usually surface quickly, and solutions can be quickly tested. But once you're out of the discovery phase, you really want to establish a solid continuous-integration/continuous-delivery (CI/CD) process. In this post I'll describe how I set one up in Azure DevOps Services.
The code I used in for this article is Release v0.0.5.
I'm no stranger to Azure DevOps... or at least I thought I wasn't. Both the on-premises and online versions of Azure DevOps were formally called TFS (Team Foundation Server or Services, respectively). I've been using TFS since 2011, so I remember the old days of XAML Build Definitions (which are thankfully a relic of the past). I also remember when Microsoft introduced the current build engine (first called vNext Builds). It was a total rewrite from the ground-up, and it rocked. It is still the same engine used in Azure DevOps Server/Services today. So naturally, I thought this was going to be old hat. And it could have been... until I realized that the once new-fangled "vNext Builds" are now known as classic build pipelines.
image of new Coke, here we go again
But how hard could it be, right? I decided to dive in and see what all the fuss was about.
Public Works
I've known from the start that this was going to be a public project. It's why I chose GitHub, after all. But Azure DevOps Services, at least when it was known as Visual Studio Team Services, defaulted to private projects. So I was curious to see just how easy would be to set the project to "public." I knew it could talk with GitHub -- it was doing that before Microsoft acquired GitHub -- but I also wanted the build pipelines themselves to be on display.
So I logged into my Azure DevOps Services account, created the project, and set it to Public:
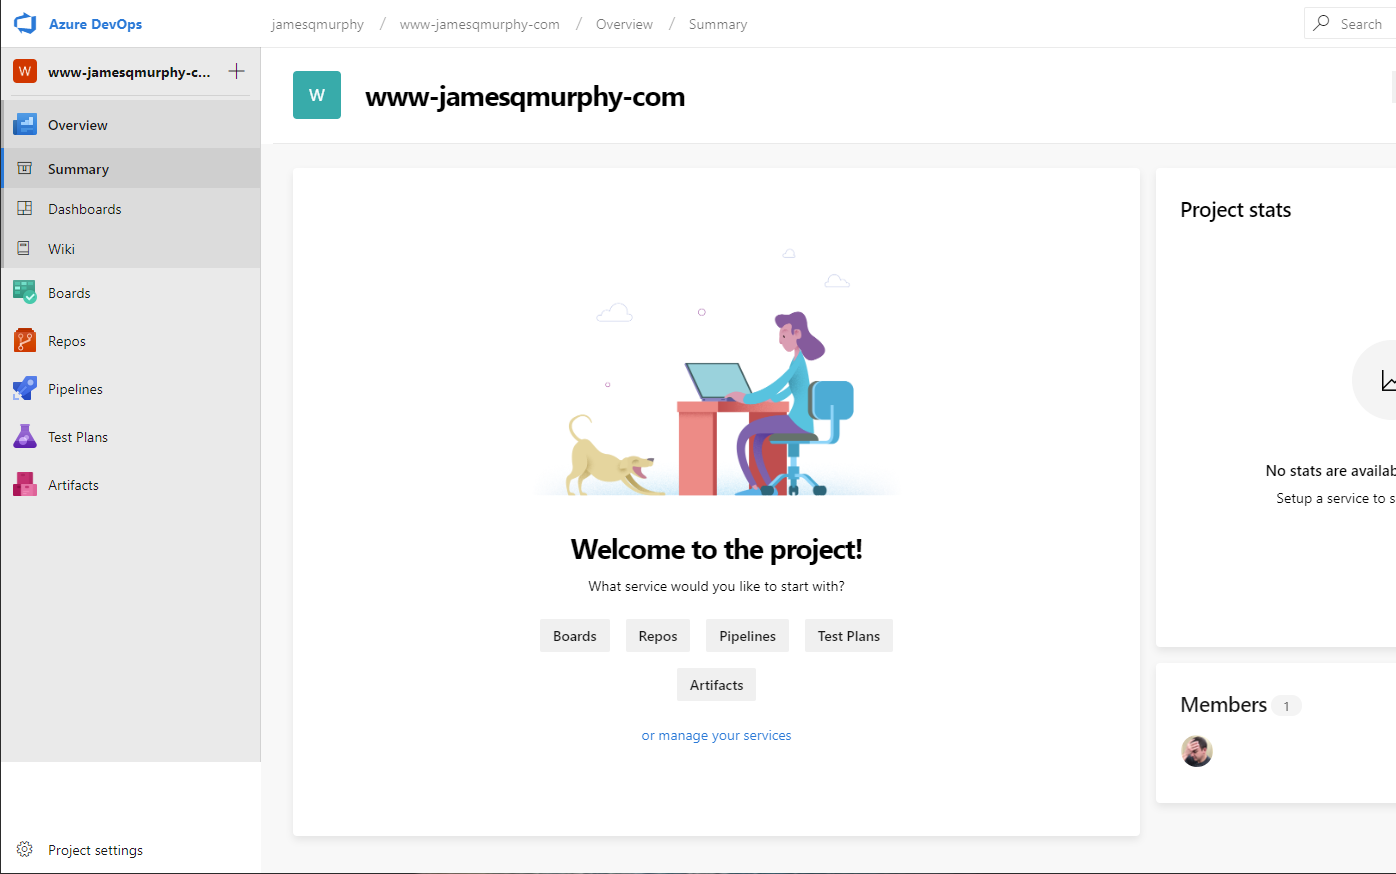
And by public, I mean public. You can see it yourself right here: https://dev.azure.com/jamesqmurphy/www-jamesqmurphy-com
To hook it up to GitHub, I had to go into Project >> GitHub connections:
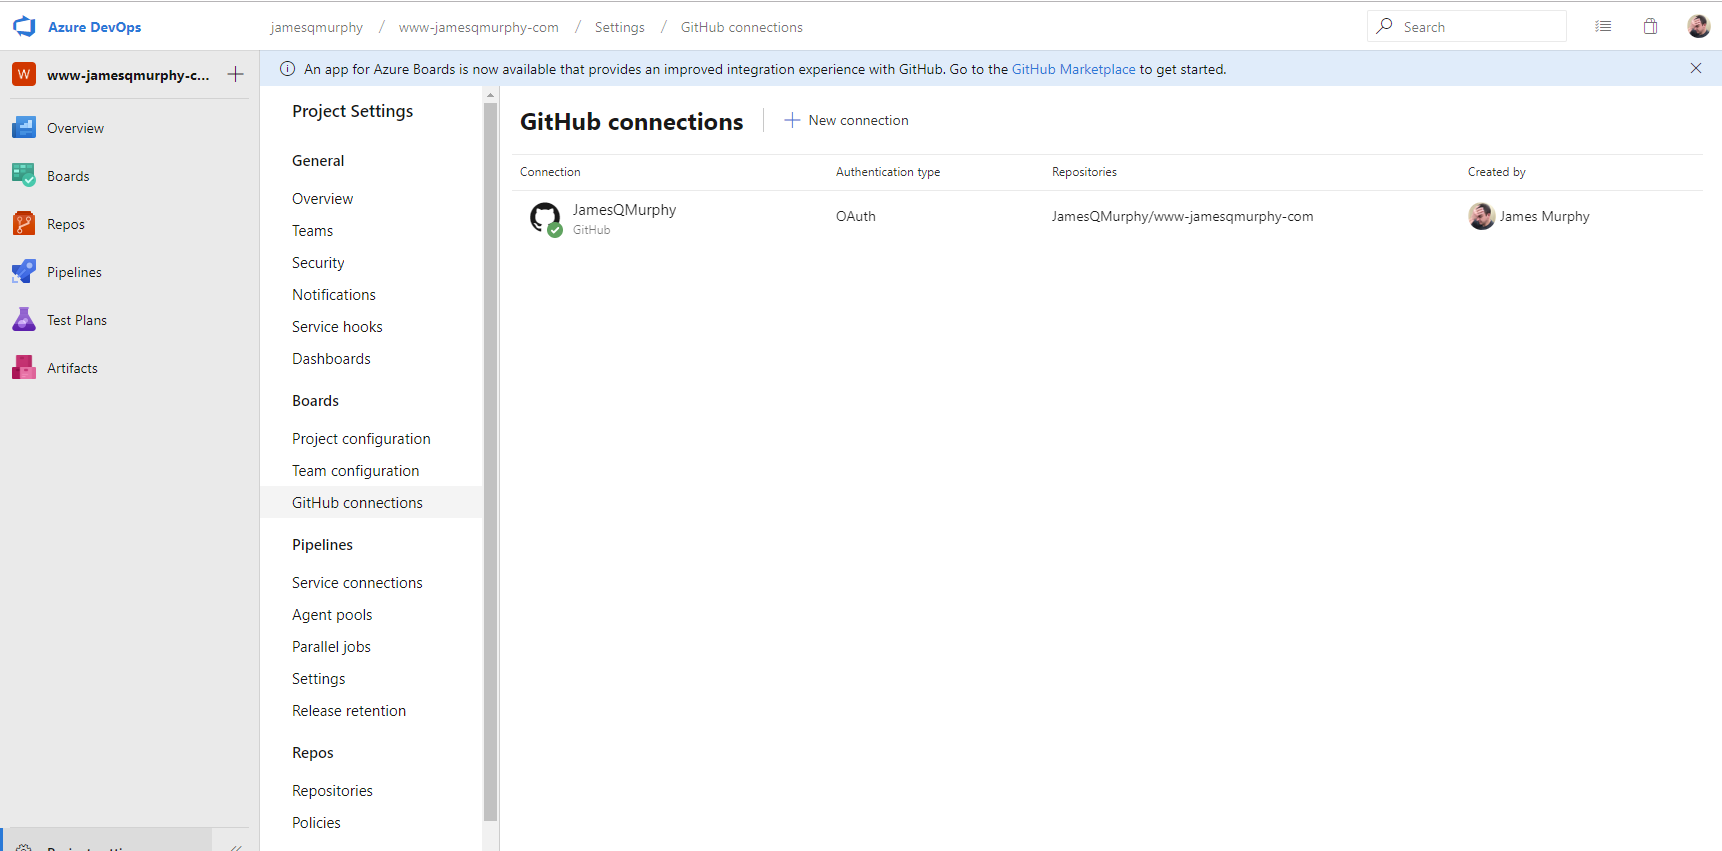
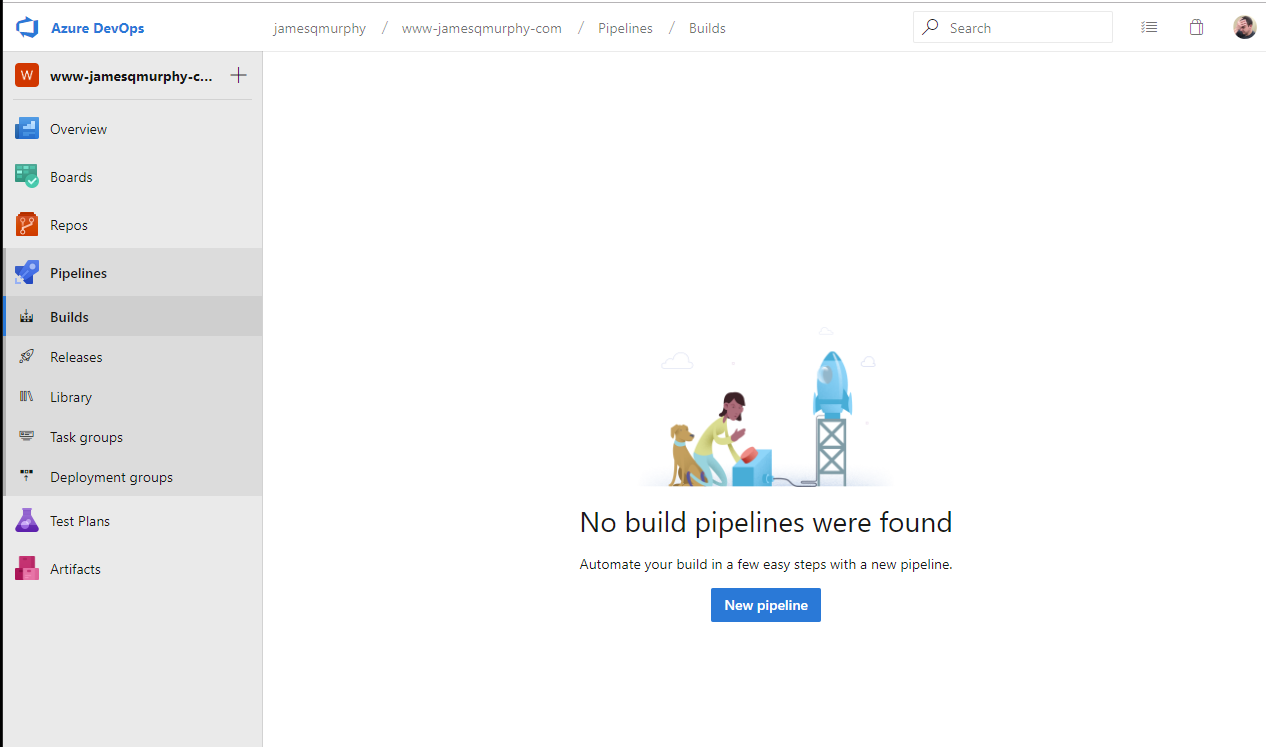
But all this did was connect Azure DevOps Services with GitHub -- it did not connect the project to the Git repo. To do that, I needed to actually create a build pipeline:
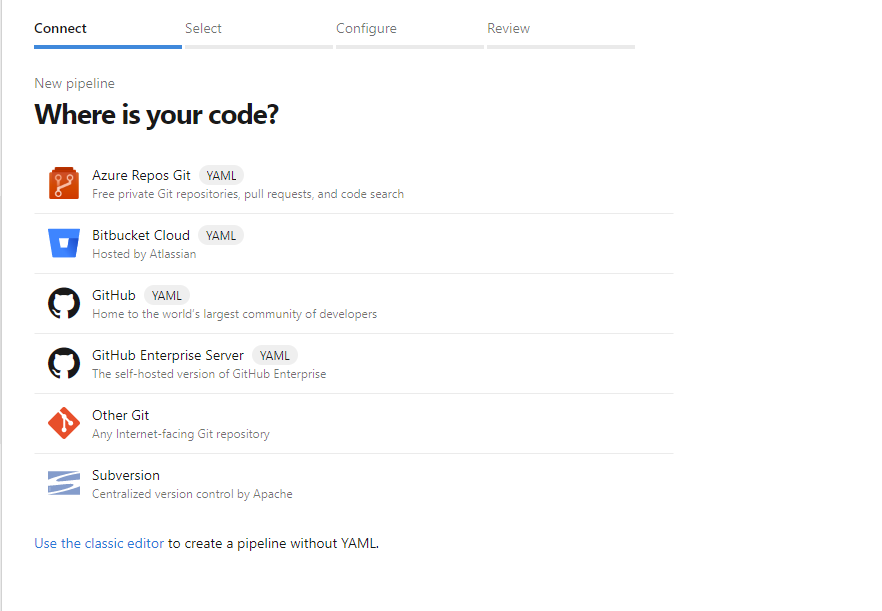
The first question it asks you is, naturally, "Where is your code?" I selected GitHub to continue. I also noticed the little "YAML" icon; that innocent-looking icon, coupled with the "Use the classic editor" link at the bottom of the page, told me that I was in for a ride.
The next page offered me a list of all my GitHub repositories. I selected the appropriate repo and continued.
(Arrow to my repo) 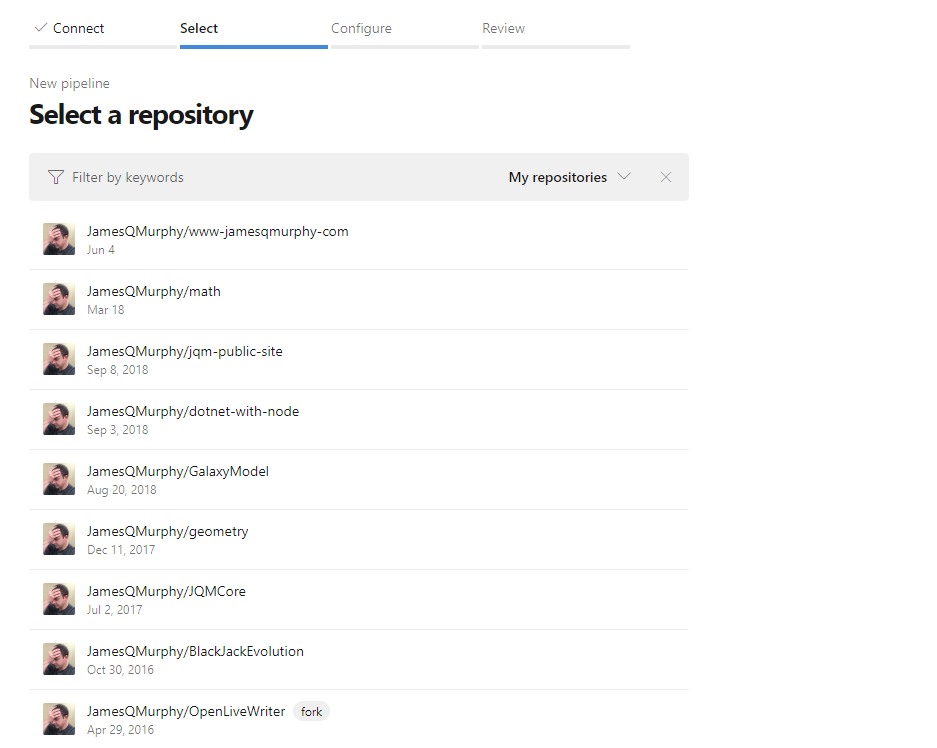
The next page is where things got interesting. Azure DevOps actually installs a GitHub plugin, and you get to restrict the repos that it can access. So I made sure that my Azure DevOps account could only fully access the www-jamesqmurphy-com repo:

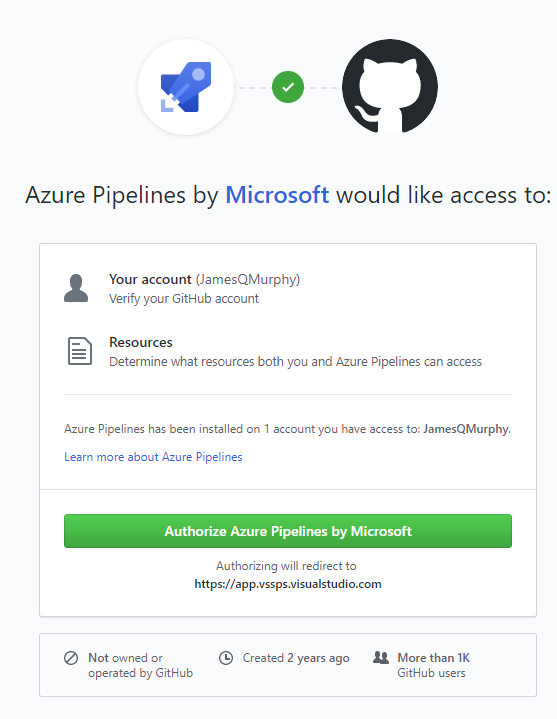
Clicking on the "Approve & Install" button takes you over to the GitHub site. Note that my GitHub account is different than my Azure DevOps account; I imagine that the process would be a little different if the accounts were the same. Since I do have two separate accounts, GitHub asked me (as GitHub JamesQMurphy) if it was okay for Azure DevOps Pipelines to access the repo. Naturally, I clicked "Authorize" to allow the access.
Back in Azure DevOps, the next step was to configure my pipeline. I didn't want to start with a blank pipeline since I've never done this flavor of Azure DevOps, so I selected "ASP.NET Core", which was in fact the type of application I was building.

And then I ended up here.
The "New" Way of Storing Build Scripts
In previous versions of build systems (including classic pipelines), the build steps were stored outside of the code repository. This separation alone can be problematic; if a component is modified or removed, it could trigger a build failure that requires special coordination to fix. The problem gets worse if there are branches involved. Once, I used two build definitions (an "old" one and a "new" one) and would have to manage which branch required which build.
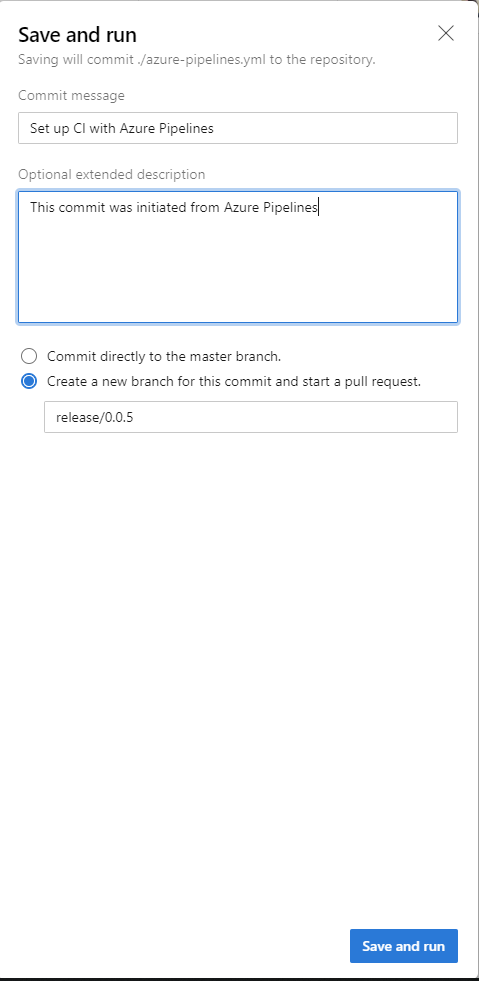
With the "new" Azure DevOps way, the build steps are stored right in the source code repository, as a YAML file named azure-pipelines.yaml. This offers tremendous benefits; not only is the build process itself stored in the repository itself, it follows the same branching model. This allows your build process to evolve right along with your code. Here's the cool part: you can edit this file directly on the server, and even trigger a build to test it out, although you do have to save (i.e., commit) your changes first. In fact, the "Save" window gives you the choice of committing directly to a branch, or to spin up a new branch on the fly (complete with pull request):
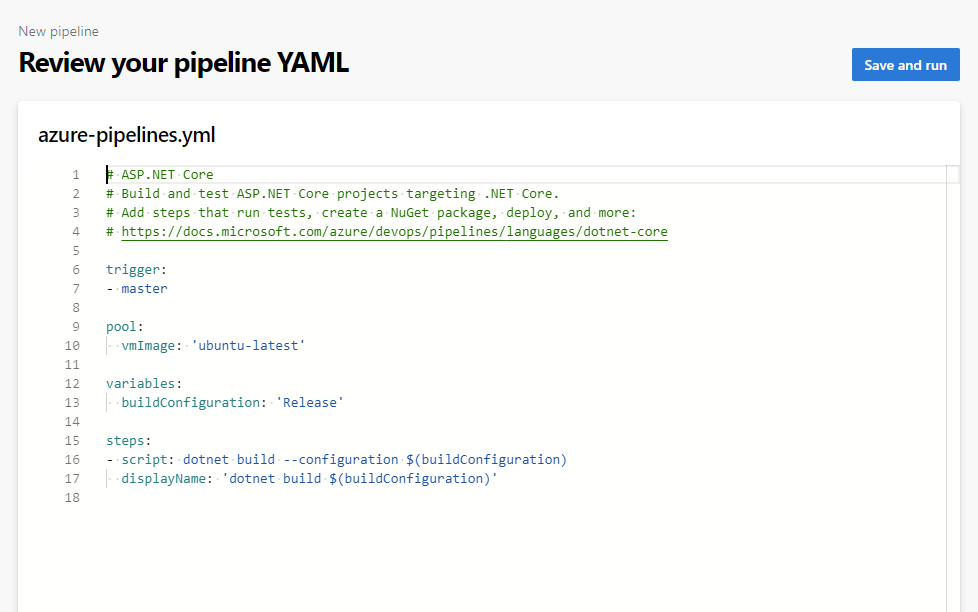
So let's take a look at the actual content of the YAML file:
# ASP.NET Core
# Build and test ASP.NET Core projects targeting .NET Core.
# Add steps that run tests, create a NuGet package, deploy, and more:
# https://docs.microsoft.com/azure/devops/pipelines/languages/dotnet-core

trigger:
- master

pool:
  vmImage: 'ubuntu-latest'

variables:
  buildConfiguration: 'Release'

steps:
- script: dotnet build --configuration $(buildConfiguration)
  displayName: 'dotnet build $(buildConfiguration)'
One of the nice things about YAML is that it tends to be quite readable, so you can easily see the various sections of the build script. The default ASP.NET Build Script defines a pipeline that:
- Is triggered by commits on the
masterbranch - Uses a build agent running Ubuntu Linux
- Defines one variable named
buildConfigurationwith a value of Release - Defines one build step that calls
dotnet build(and passes thebuildConfigurationvariable as an argument)
Fortunately, I had already discovered what it took to build the application (and this is detailed in my previous post). So I modified the steps of my build script to install the Amazon Lambda Tools and to use them to package the application, just like I did manually:
 steps:
- script: dotnet tool install Amazon.Lambda.Tools --tool-path build/bin
  displayName: Install Amazon.Lambda.Tools

- script: ./dotnet-lambda package -c $(buildConfiguration) -pl $(Build.SourcesDirectory)/src/JamesQMurphy.Web --msbuild-parameters "--self-contained true --runtime rhel-x64"
  displayName: Run dotnet-lambda package
  workingDirectory: build/bin
Note the use of the built-in build variable $(Build.SourcesDirectory). Thankfully, even the "new" way still uses the same variables that I've gotten used to over the last few years (and they are documented here).
The build worked, but it needed an additional step: Making the .zip file available as an artifact of the build. This is accomplished by using the PublishBuildArtifacts task (a complete list of tasks can be found here):
- task: PublishBuildArtifacts@1
  displayName: Publish build artifacts
  inputs:
    pathtoPublish: '$(Build.SourcesDirectory)/src/JamesQMurphy.Web/bin/$(buildConfiguration)/netcoreapp2.2/JamesQMurphy.Web.zip'
    artifactName: 'package'
But I could do better. The path to the .zip file could change over time, so rather than trying to maintain that, I can use the built-in variable $(Build.ArtifactStagingDirectory) as a location to place it in the first place (with the -o parameter of dotnet-lambda). In addition, in keeping with the DRY Principle, I was able to introduce two new variables to eliminate some duplication. I also prefixed these variables with the namespace JQM to make it clear that they are not built-in variables. Overall, the final file looks like this:
# azure-pipelines.yml
# Defines the build process for www-jamesqmurphy-com

trigger:
- releases/*

pool:
  vmImage: 'ubuntu-latest'

variables:
  buildConfiguration: 'Release'
  JQM.packageName: JamesQMurphy.Web.zip
  JQM.toolInstallDir: build/bin

steps:
- script: dotnet tool install Amazon.Lambda.Tools --tool-path $(JQM.toolInstallDir)
  displayName: Install Amazon.Lambda.Tools

- script: ./dotnet-lambda package -c $(buildConfiguration) -pl $(Build.SourcesDirectory)/src/JamesQMurphy.Web -o $(Build.ArtifactStagingDirectory)/$(JQM.packageName) --msbuild-parameters "--self-contained true --runtime rhel-x64"
  displayName: Run dotnet-lambda package
  workingDirectory: $(JQM.toolInstallDir)

- task: PublishBuildArtifacts@1
  displayName: Publish build artifacts
  inputs:
    pathtoPublish: '$(Build.ArtifactStagingDirectory)/$(JQM.packageName)'
    artifactName: 'package'
One last point: By default, Azure DevOps places the azure-pipelines.yml file in the root of the repository. But you can set a different location (see this StackOverflow answer). In my repo, I placed the file in the /build folder, to keep it separate from the source code.
For now, the actual .zip file is available as a build artifact in the build results:
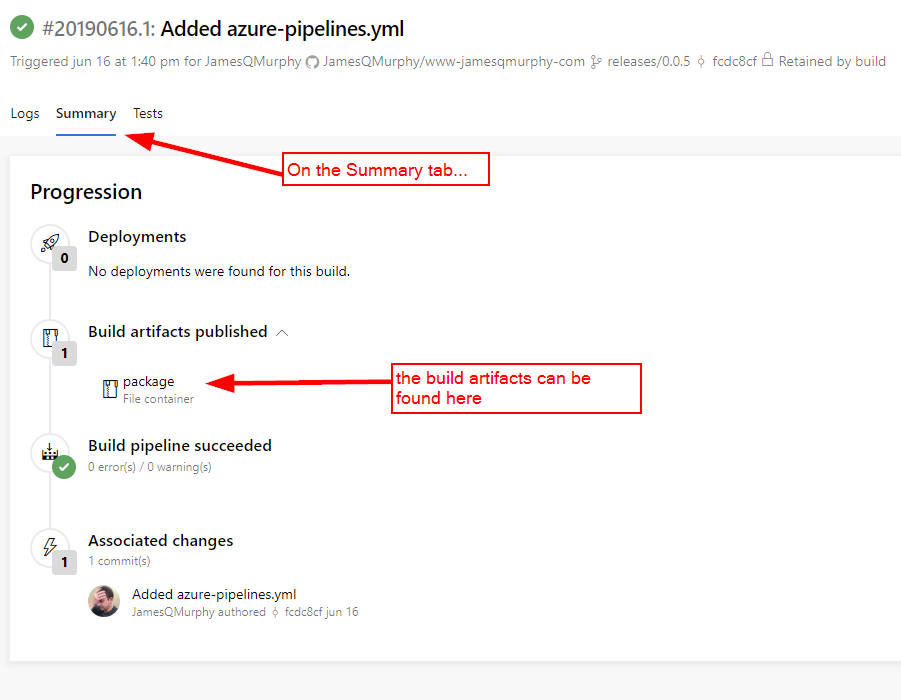
You can certainly download the .zip file and upload it straight to AWS Lambda, as I did in a previous article. But we can set it up to deploy automatically, as we shall see in the next article.