That First Scoop
Setting Up A Brand New Visual Studio Solution And Testing dotnet publish
by JamesQMurphy | May 28, 2019
Have you ever set up a brand-new Visual Studio solution for your team? It's a huge responsibility. Your teammates should be able to pull the code down onto their machines and build it, the first time, without issues. If they can't, you'll certainly hear about it! Although I don't have other team members, I still wanted my solution to be first-time buildable.
The task is daunting enough, but throw dependencies on third-party components into the brew, and it can quickly become a mess. Thankfully, nowadays we have package managers such as NuGet and npm. Gone are the days of having to ask your teammates to install dozens of third-party components, and that's even assuming you remembered them all. Visual Studio has NuGet functionality built-in, and it will even download npm packages if your project has a packages.json file. What it won't do, however, is run any custom build scripts inside of packages.json. Visual Studio does inlcude support for Gulp, so you can set up a gulpfile.js file to run the scripts. However, as we'll see in my next post, I instead chose to add a post-build step to manually fire an npm run-script command instead.
Creating The Solution
Instead of creating the solution from within Visual Studio, I was curious and used the dotnet new command to create the project. The "mvc" template is the one that corresponds to an ASP.NET Core application using the Model-View-Controller pattern. You'll also notice that I ran the command from the src folder, which was a folder I manually created to keep the repo organized. Note that I had .NET Core SDK 2.2.300 installed:
PS E:\Code\www-jamesqmurphy-web\src> dotnet new mvc --name JamesQMurphy.Web
The template "ASP.NET Core Web App (Model-View-Controller)" was created successfully.
This template contains technologies from parties other than Microsoft, see https://aka.ms/aspnetcore-template-3pn-210 for details.

Processing post-creation actions...
Running 'dotnet restore' on JamesQMurphy.Web\JamesQMurphy.Web.csproj...
  Restore completed in 989.13 ms for E:\Code\www-jamesqmurphy-web\src\JamesQMurphy.Web\JamesQMurphy.Web.csproj.

Restore succeeded.

PS E:\Code\www-jamesqmurphy-web\src>
You'll notice that dotnet new automatically runs a dotnet restore command, which loads all of the packages from Nuget.org. But dotnet new creates a project, not a solution; solutions are a Visual Studio thing. When I loaded the project into Visual Studio, it created a solution of the same name, although it did not save it until I explicitly saved it. At this point, I committed the solution to my GitHub repo (commit d9234e4); you can see the results there if you like. The first thing I changed was to add the website name to the appSettings.json file. At that point, I created my first GitHub release, Release v0.0.1.
Testing dotnet publish
My goal is to set up a continuous integration build in Azure DevOps Services, but to get there, it helps to understand the build tools themselves. I'll start with the primary tool used for building .NET Core applications: dotnet publish. At this point, this single command is all that is needed to build the website and produce a working ASP.NET Core web application. (We'll need more build tools later.) To further simulate what a build agent might do, I've downloaded the code to an arbitrary folder (in this case, C:\Temp\www-jamesqmurphy-com-0.0.1) on a different machine with the .NET Core SDK installed. Note that most build agents will actually perform a git fetch to retrieve the code, but simply downloading the code will suffice to test the tool.
I opened a command prompt, navigated to the C: emp\www-jamesqmurphy-com-0.0.1\src\JamesQMurphy.Web folder, and typed the following command:
dotnet publish --output C:\Temp\MyWebsite --configuration Release
A few seconds later, I had a full website deployed to C:\Temp\MyWebsite. (You can see that it warns me about running a preview of .NET Core 3.0.)

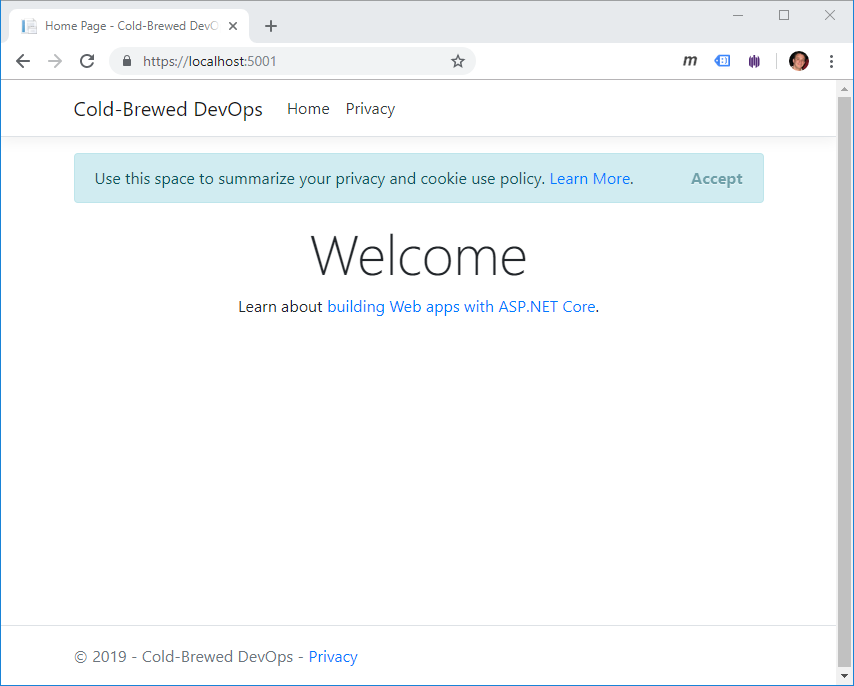
And when I say "full website," I mean a complete web server -- no IIS required. If we navigate to the folder, we can launch it by using the dotnet run command and passing in the name of the assembly (JamesQMurphy.Web.dll):
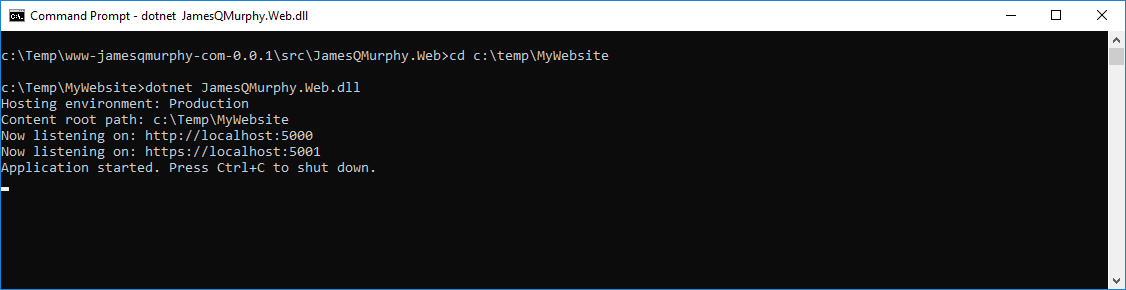
And it really works. By the way, it works for HTTPS because I ran the dotnet dev-certs command. There's an excellent blog post by Scott Hanselman that describes that process.
But there is one thing I should point out: by default, dotnet publish produces a Framework-dependent deployment, which means that the ASP.NET Core runtime needs to be installed on the machine. If I zipped the contents of the C:\Temp\MyWebsite and dropped it onto another computer, it would only work if ASP.NET Core 2.2 was installed. But there is another way.
.NET Core also lets you publish a Self-contained deployment, where all the .NET Core assemblies get copied into your publish folder. This means that the resulting build artifact is much larger (10x larger in this case), but it will run on the target machine without requiring that .NET Core be installed there first. It also means that you must know which runtime you are targetting. In other words, you can't have a self-contained deployment that works on both Windows and Linux; you would need a self-contained deployment for each target runtime.
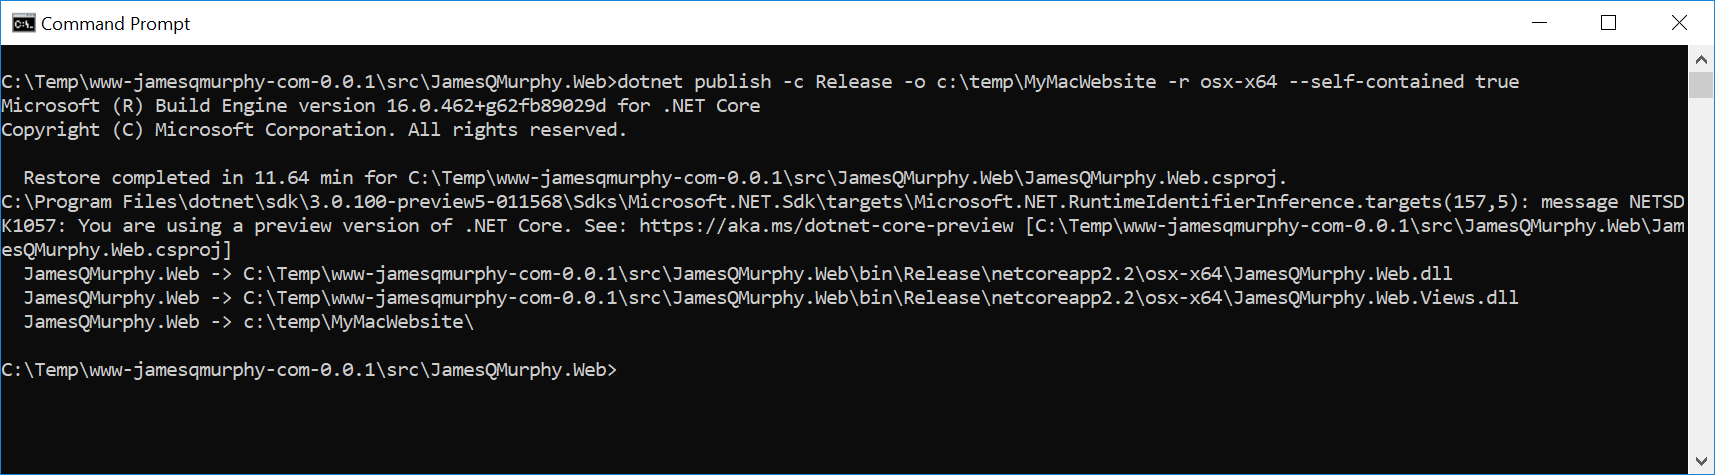
Out of curiosity, I tried building a self-contained deployment for MacOS, to see if I could run it on my wife's iMac, which definitely does not have ASP.NET Core installed. I looked up the runtime identifier for MacOS here and settled on the "portable" runtime identifier of osx-x64. Once again, I ran the dotnet publish command, this time specifying a self-contained-deployment (and with the short form of the other parameters, for brevity):
dotnet publish -c Release -o c:\Temp\MyMacWebsite -r osx-x64 --self-contained true
It worked, but notice that it took over 11 minutes!
I did some preliminary research, and with a few tests, determined that most of that time was spent during the restore phase (presumably to download the libraries for MacOs). Even subsequent calls to dotnet restore didn't improve the time. Nevertheless, it did compile. I transferred the folder over to my wife's Mac, and sure enough, was able to launch the web server:

Notice how the application could not start the SSL site, but I expected this since I did not set up the machine with any certificates. But the basic HTTP site worked:
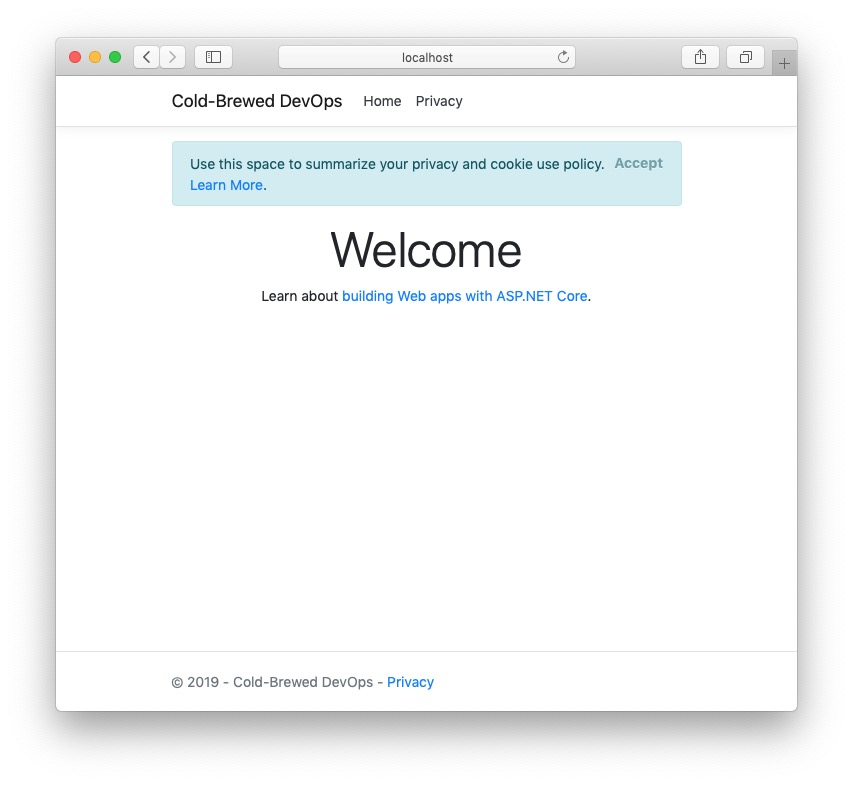
I had just built my first .NET Core application that could run on a Mac. I never thought it would be a web application!
Next Steps
Now that I confirmed that I could build and publish the website, I could start setting up the continuous-integration (CI) pipeline. But I knew that the build process was going to be a little more complicated, so I decided to hold off until I knew all of the steps needed. In my next post, I'll talk about adding npm to the build steps.